Crafting at The Parachute Holiday Village
Holiday activities for the whole family from The Parachute Holiday Village
The spirit of the holiday season came alive on December 2nd and 3rd at the first-ever Parachute Holiday Village. This two-day event brought European charm to Culver City showcasing shopping, food and beverage, twinkling lights, photo moments and creative activities for all ages. Partnering with brands like Sézane, APL, Therabody, Cuyana, Osea, and Lalo, the event was a celebration of joy, community and craftsmanship.
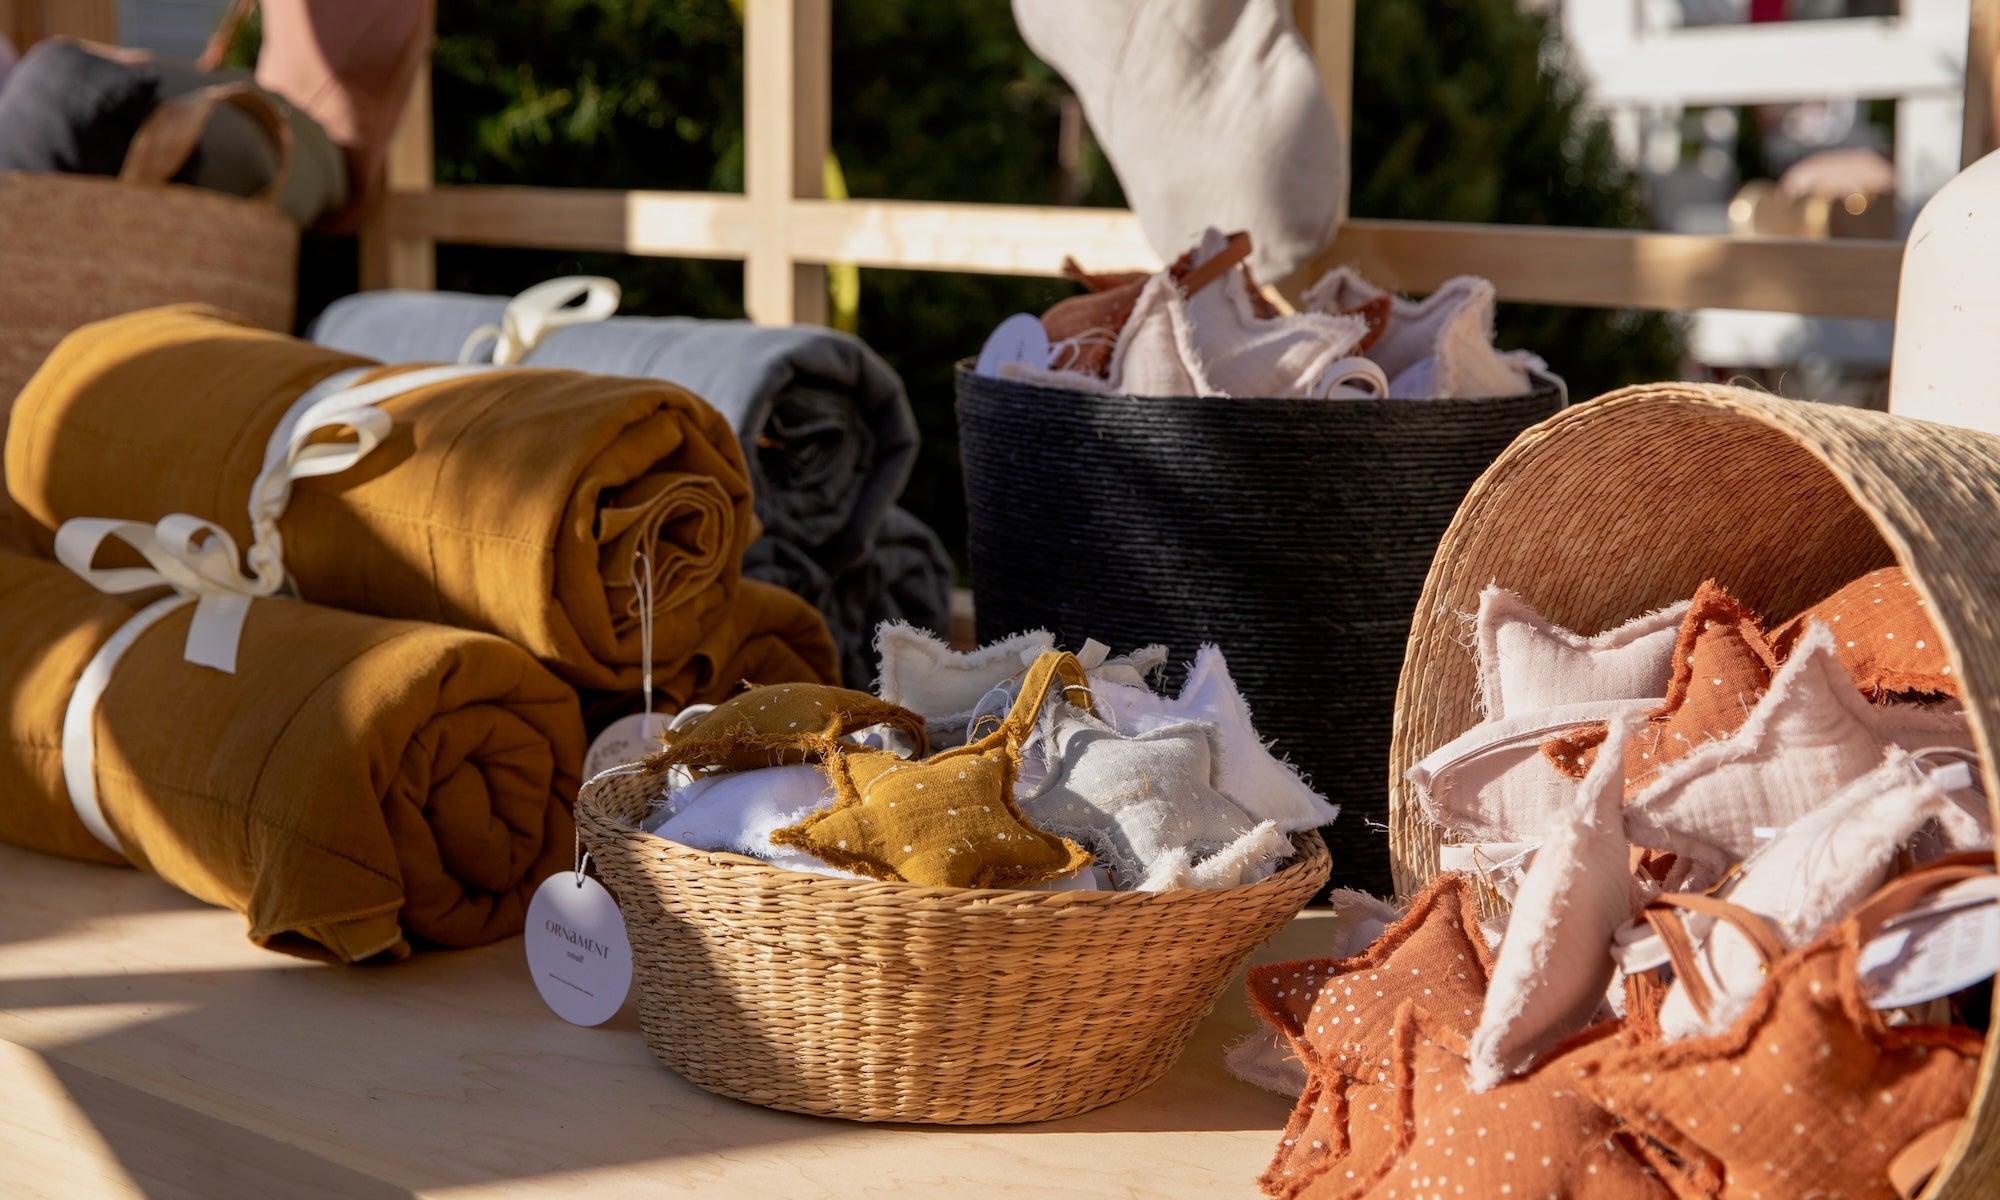
The Parachute Holiday Village was an immersive experience with lots of crafting activities that delighted both children and adults alike. Attendees had the opportunity to channel their inner artist through wreath-making, letter-writing to Santa, and custom coloring books – all activities that can be recreated in your own space! Parachute teamed up with Lalo to share how you can DIY these crafts at home this season.
Wreath Making
Claire Thomas of Sweet Laurel Bakery gave shoppers the chance to create personalized wreaths using an array of festive greenery and decorations. From colorful flowers to decorative accents, the wreath-making class allowed participants to craft a unique and beautiful addition to their holiday decor. Want to make one?!
Materials:
Wreath base (can be purchased or made from a wire or foam ring)
Greenery (pine, holly, eucalyptus, etc.)
Decorative elements (ribbons, ornaments, pinecones)
Floral wire or hot glue gun
Scissors
Steps:
Prepare the Base: If you're using a premade wreath base, skip to the next step. Otherwise, shape a wire or foam ring into a circle and secure it with floral wire.
Add Greenery: Trim small sections of greenery and arrange them around the wreath base. Attach them with floral wire or hot glue.
Decorate: Integrate decorative elements like ribbons, ornaments, or pinecones. Secure them in place with floral wire or hot glue.
Personalize: Add a personal touch by incorporating items that hold sentimental value or reflect your personal style.
Hang and Enjoy: Once you're satisfied with your wreath, hang it on your door or a prominent place in your home. Admire your handcrafted holiday decoration!
Letters to Santa
Children eagerly lined up to share their wishes and dreams with the jolly old man from the North Pole. The letter-writing station with Jaymes Paper provided festive paper, pens, and stickers, enabling young ones to pour their hearts onto paper and send off their messages to Santa Claus. Do you want to write Santa your own letter?
Materials:
Festive stationery or plain paper
Pens, markers, or colored pencils
Stickers, glitter, or other embellishments (optional)
Steps:
Create a cozy writing space with holiday decorations and a comfortable writing surface.
Write the Letter: Start the letter with a friendly greeting to Santa. Encourage children to express their wishes, share their accomplishments, and maybe even mention something kind they did during the year.
Add Creativity: Use markers, colored pencils, or stickers to decorate the letter. Feel free to add drawings or small doodles to make it visually appealing.
Seal and Address: Fold the letter, seal it in an envelope, and write "Santa Claus, North Pole" on the front. You can also add a return address for a reply from Santa.
Custom Coloring Books
Custom coloring books and crayons were a hit at The Holiday Village! Participants of all ages were given the chance to bring their imagination to life. Intricate holiday-themed designs and patterns filled the pages and provided a memorable keepsake. Want to make a coloring book to share with family, cousins and friends?
Materials:
Blank sheets of paper or a sketchbook
Markers, colored pencils, or crayons
Holiday-themed stencils or coloring book printables
Stapler or hole punch with yarn or ribbon (optional)
Steps:
Gather Materials: Collect blank sheets of paper or a sketchbook and your coloring utensils.
Find or Create Designs: Look for holiday-themed coloring book printables online or create your own designs. Consider using stencils for intricate patterns.
Arrange Pages: Arrange the sheets in the desired order. You can create a cover page and decide on a theme for your coloring book.
Bind the Book (Optional): If you have multiple sheets, consider binding them together. You can use a stapler or punch holes and tie the pages together with yarn or ribbon.
Color Away: Let your creativity flow as you fill the pages with vibrant colors. Don't be afraid to experiment with different shading techniques.