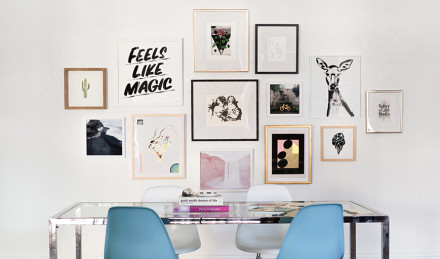
If walls could talk. We’ve heard this phrase a million times, and while walls can’t physically talk, they can tell a story. Artwork is a window into someone’s life, history and interests – and a gallery wall is one of the best ways to display it. We asked expert Sonja Teri to share a step-by-step guide on how to create a gallery wall of your own. Her company, Poster Child Prints, sells limited edition artist works and offers bespoke services – from curating to installing art – for spaces including hotels, offices and private residences.
“My favorite part about designing these gallery walls is that the whole is greater than the sum of its parts. When we style art at Poster Child Prints, each piece doesn’t need to be extraordinary or match entirely,” Sonja says. “It’s all about creating a bigger picture.” Here’s how…
Set the Mood
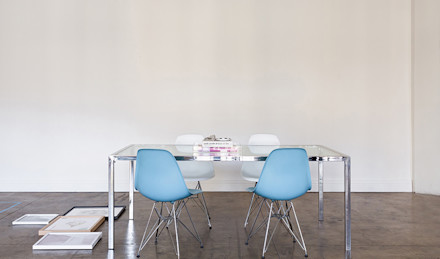
What are you trying to say with your gallery wall? What are you trying to feel? It’s important to ask yourself if you prefer a peaceful and calming aesthetic or a vibrant and eclectic one. These decisions set the mood of the space.
I. You’ll Want to Select a Wall as Your Focal Point and Create Your Statement There
Dispersing artwork on every wall can overwhelm a space. We’d rather hang twelve pieces on one wall than have them scattered throughout.
II. What Do Your Walls Say About You?
Think about your life and interests. Start your process by choosing pieces that represent them. We’ll usually ask clients a series of questions relating to hobbies, musical taste, upbringing, color likes and dislikes, etc. TIP: It’s okay to emulate a picture you saw on social media, but don’t copy it exactly. Create your own story!
Where to Begin
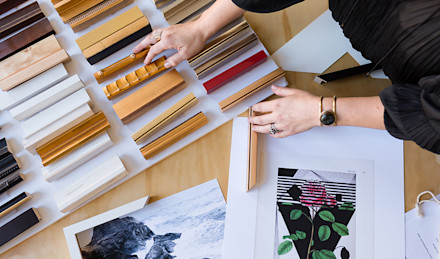
Selecting art for your gallery wall doesn’t require a degree in art history. People often get hung up on the worthiness of a piece of artwork. Is it good enough for the wall? Does it match with everything else I own? This rationale may lead to years of collecting and cost a fortune. Our approach is, if you select things you love, you’ll make it work. It’s better to start with many options and edit later.
I. Start at Home
Art doesn’t need to be expensive, so now’s the time to pull out those posters and flea market finds you’ve been collecting. You can also look for travel mementos, postcards, photos, love letters, concert posters, pages from your favorite book, family heirlooms, etc.
II. Assemble a Variety of Art
Mix high and low. Pieces that don’t need much attention actually work well in a gallery wall because they’re next to pieces that demand a spotlight.
III. The Ideal Mix
Mix different mediums: Photography, prints, posters, canvases, paintings, drawings, and vintage art add texture and depth to your wall. Using only one medium will appear flat and uninteresting. TIP: Know when it’s complete. It’s easy to continue the “collecting phase” for a lifetime. Instead, get started with what you have. You can always add to it later.
Framing
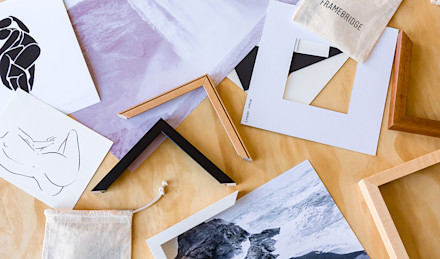
No pressure, but framing can make or break a gallery wall. If your artwork is pre-framed, great; if not, there are many framing options from pre-fab to custom. We recommend Framebridge.
I. Mix It Up
If you’re on a budget, you can save money by combining both pre-fab and custom frames. We suggest custom framing your most valuable pieces first.
II. Different Frame Styles Add Variety to Your Wall
Besides frame color, there are many ways to mount the art, including framed to the edge, shadowbox, matted and floated. Ideally you’d want an assortment. Large white mats around your images can help give the wall some breathing room while float frames give it an elegant look. If you’re going for a monochromatic look, using all white, black or lightwood is a great option and makes the artwork stand out. TIP: Fresh frames can give old artwork a new life.

Artwork Is Collected, Now What?
I. Find an Open Space
Using painter’s tape, mark the parameters of your wall on the floor. You will want to account for furniture measurements that may be blocking parts of your wall.
II. Boundaries
Give at least 12 inches of space on the right, left and top of the wall – and 30 inches from the floor. Using painter’s tape, mark the parameters (if you go a little over, it’s okay).
III. For the “Tech-Savvy.”
We use this method when working with remote clients. It enables us to efficiently create new arrangements as well as manage client expectations, allowing them to view the finished plan before we even begin the buying and framing process. Measure your wall and each piece of artwork, take pictures of each piece, then take a photo of the blank wall (including furniture, plants, etc). Upload all your photos into Photoshop. Scale the wall and artwork using the actual measurements you’ve already taken.
The Placement
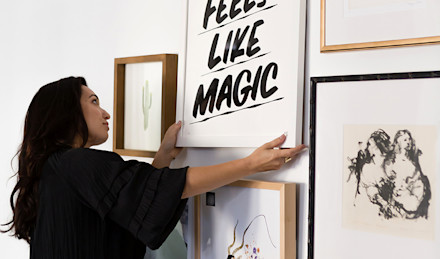
Here’s where you put your puzzle skills to use. Just remember, it’s okay to move things around until you hit the sweet spot – try different combinations!
I. Pick One Piece to Take Center Stage
Typically this is your most substantial piece. If you have multiple large pieces, start by centering them.
II. Arrangement
Arrange artwork in a way that doesn’t leave any awkward pockets of space.
III. Balance the Bold
If you have a bright orange piece on the right side, try and find artwork that has an orange accent for the left side. Otherwise, your eye will only see the boldest piece and overlook the others. We prefer to keep the darkest and heaviest artwork near the bottom.
IV. Don’t be Afraid to Place Artwork Close Together
The gallery wall as a whole looks more cohesive when art is close together. We recommend two inches of space between each piece. People with lots of wall space usually make the mistake of spreading everything out just to fill the wall. It’s better to keep it tight; remaining space just means you have room to add on later.
V. Continue to Move Things Around Until it Feels Complete
This part takes time. You may do 30 different combinations until it feels right. If you like a particular arrangement but want to try a few more, take a picture with your smartphone so you can go back to it later.
VI. Have Three Satisfying Arrangements Before Committing to One
We’ll take pictures of each version, then review the next day. Considering the arrangements overnight helps us see the winning look more clearly. TIP: Gallery walls look best if they have varying widths and heights. Our goal is to create a rhombus or pentagon shape, so artwork at the peaks of the cluster sit highest.
Installation
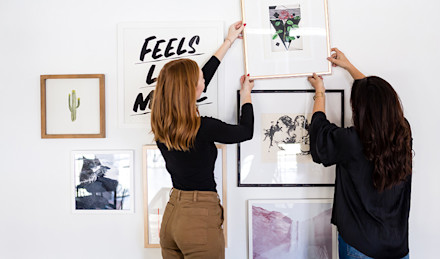
This step can take time and appears simpler than it is. If you’ve photographed your mock wall arrangement, print it as your road map.
I. Art Installer
If you can spend the money on an art installer, do! They can hang everything using measurements you took. Try Thumbtack or TaskRabbit. Poster Child Prints uses an L.A.-based framer, we’re here to help if you need it!
II. DIY
If you’re on a budget (or have lots of patience), enlist a handy friend. It helps to have two people hang the gallery wall. TIP: Don’t be scared to put holes in your walls. That’s what paint and spackle are for.
