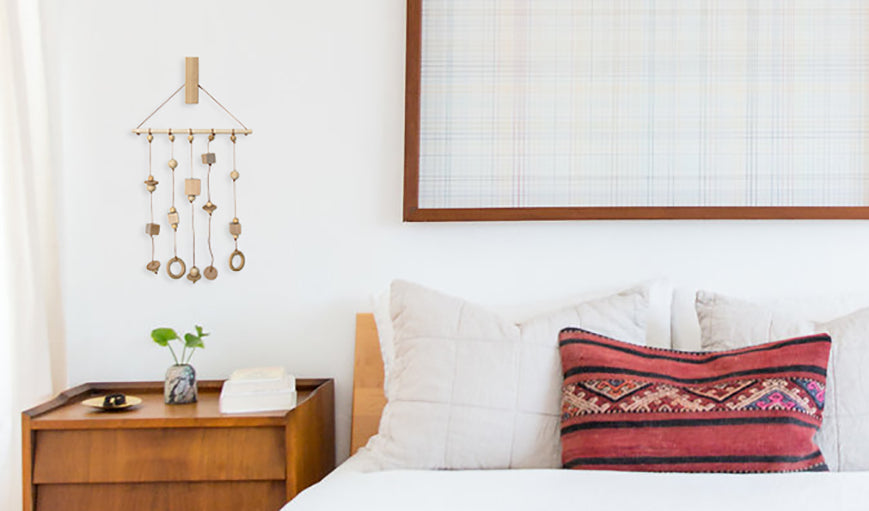
Make a DIY Wall Hanging
The craft movement goes minimalist.
The popularity of wall hangings has surged the past few years, from macrame to retro carpet creations serving straight ‘70s nostalgia. And while we love this crafty interiors movement, we’re partial to wall hangings made by hand. So we asked our very own Experiential Project Manager, Nicole Neu, for a step-by-step guide on how to create one. Because she designs all of the displays at our Venice store, we knew we could count on her for something modern, minimalist – on brand – if you will. To make a Parachute-style wall hanging of your own, follow these easy steps.

Gather your beads. We’re using a wooden variety, but for a pop of color, try felt or ceramic beads. Nicole recommends using 10-20 in total.
Knot string on each end of the wooden (or brass) dowel to create an arch for hanging. You can use kitchen twine, fishing line or another heavy weight string. We recommend leather cord, pictured.

Tie five pieces of hanging string to the dowel. These will be used to thread the beads!

Wrap the end of each string in masking tape for easy threading.
String each bead, tying a double knot under each. String heavier beads last, at the bottom of your hanging strands, for balance. Pro tip: For creative ways to string your beads, create a unique pattern for the center strands and a repeating pattern for the outside strands.
Repeat this process until all strands are full.

Finish each strand by tying a double knot at the end.

Trim any excess string. Mount on wall or gift to someone special.


